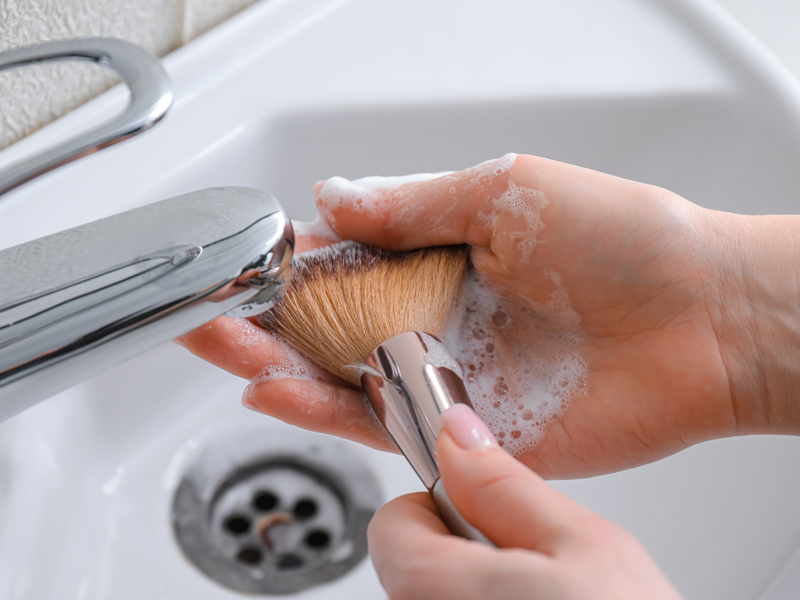
The variety of brushes in your vanity, your favourite beauty sponge and the collection of trendy makeup applicators speak volumes about your makeup skill and artistry. But what about the hygiene and cleanliness of these very makeup applicators? According to dermatologists and makeup artists, we should be cleaning up our tools far more often in order to prevent bacteria buildup, which can lead to breakouts. While soap and water work great for overall cleansing, makeup applicators differ and so do the methods to clean them up. Here is a guide to keeping your makeup brushes and sponges clean and bacteria-free with ease.
3 DIY Makeup Storage Ideas For Small Spaces
A well-organised makeup collection makes it easier for you to locate products and have a no-stress makeup and skincare routine. It will also help you to figure out what item you need to repurchase before the product finishes. Whether you’re a neat freak or not, a neatly organised space is sight for sore eyes!
1. Hanging Organiser With Clear Pockets
If your makeup table is running out of space, try this hanging organiser to store your makeup items. This may take a little more effort but the results are totally worth it!
Things you will need:
- Fabric
- Sturdy clear plastic
- A steel or plastic hanger
- Scissors
- Needle and thread
Method:
- Using the hanger as a size guide (for width), cut two rectangular pieces of fabric of the desired length.
- Use the leftover cloth to make bindings for the pockets.
- Keeping in mind the size of the items you will be putting in the pockets, cut out small rectangular pieces from the clear plastic.
- Sew the cloth bindings on the top of the pockets.
- Sew the pockets to one of the large rectangular cloth pieces. Make sure they are equally spaced.
- Now lay the bottom fabric piece (the one without pockets) on a flat surface and place the hanger on the top of it. Keep the other layer (the one with pockets) on top. Align it with the bottom piece.
- Carefully sew the two pieces of fabric together. Go around the hanger as well as down the sides. Only the hanger hook should be visible at the top. Leave the bottom open.
- You can add a thick layer of interfacing in between the two layers to make your hanging more sturdy.
- With the remaining fabric, add binding around the bottom as well.
These are possibly the best way to clean hair brushes at home.
2. Drawer Organisers
DIY drawer dividers are a simple and inexpensive way to make your space look neater. You can make a compartment for each category of makeup items so that everything has its own place!
Here’s how you can make your DIY makeup organiser for drawers.
Things you will need:
- Empty cardboard boxes of various sizes and shapes
- Craft papers and wrapping papers
- Tape
- Scissors
- Pencil
Method:
- Empty your drawer and plan out how to divide it. This included planning out the shapes and sizes of the dividers. You can go for larger but fewer compartments or several smaller ones. Place the empty boxes in the drawer to get a better idea.
- Use the height of your drawer as a guide to determine the height of each compartment. Mark the desired height around the edge of each box and cut accordingly.
- Use the wrapping paper/cardstock paper to wrap the cut boxes. Make sure you cover the inside as well as outside edges of the box. Remember to neatly push in the creases around the inside edges.
- You can use the same colour paper for all boxes for a uniform look. Or you can use different colours for a brighter look!
3. Glass Brush Holder
These super stylish DIY brush holders are very simple to make. If you have a huge brush collection and want all the items to be displayed together, this is the perfect hack for you. Here is how to make makeup brush holders using glass containers.
Things You Will Need:
- Wide-mouthed glass jars or containers
- Small ornamental stones,
- Potpourri
- Craft paper
- Washi tape
- Markers
Method:
- Fill (about 3/4th) of each glass container with the stones and potpourri. In case you do not have ornamental stones, you can use coffee beans or kidney beans instead!
- Cut the craft paper into labels. You can add a zig-zag pattern to the edges to give it a fancy look.
- Use the marker to write the different categories on each label. Stick the labels to the jars.
- Decorate the outer surface of the glass with washi tape. Your DIY brush holder is ready!
Tip: Confused about how to use potpourri? Do not worry folks, we got your back. Check it out here.!

