

The refrigerator is the treasure trove of every kitchen. And being at home equals 5 trips to the fridge in just an hour! Because it stores so much raw produce, dairy, meats and condiments in such close proximity to one another, refrigerator cleaning is an imperative part of cleaning your kitchen.
Deep cleaning the refrigerator is always at the bottom end of the home cleaning chart. At best, it might find a place in the annual diwali ki safai list. While everyone wipes their fridge externally often, they don’t really know how to clean fridge. We seldom realise that removing the shelves, cleaning the coils and neutralising the odours are tasks which should be paid attention to at regular intervals. External cleaning does not qualify as the best way to clean fridge. A thorough deep cleaning of the refrigerator is recommended every two months as it is crucial to the health of the fridge as well as the people of the household.
Why is Refrigerator Cleaning Important?
1. You Can Save Money
Deep cleaning the fridge helps in taking stock of what is available at home and planning meals accordingly, leading to less wastage of food. This contributes greatly to cutting grocery bills.
2. It Prevents Cross-Contamination


Raw meat and vegetables often cause cross-contamination which can be the reason for multiple diseases including salmonella and food poisoning. Deep cleaning the fridge often reduces such possibilities.
3. It Prevents Stubborn Stains
When you deep clean the fridge often, the stains present are dealt with well in time so they do not end up becoming stubborn and permanent.
4. Prevents Foul Odour

Deep cleaning is the perfect answer to how to remove bad odour from fridge. It ensures that any rotten or spoilt food is discarded, reducing the chances of foul odours.
5. Makes Your Refrigerator Last Longer
A cramped up refrigerator will not be able to do its job to its optimal capacity due to compromised flow of air within. Also, too many things in the refrigerator make it difficult to maintain a consistent temperature in the refrigerator.
6. Frees Up Space In Your Refrigerator

When unnecessary items are removed from the refrigerator regularly, there is ample space between the produce which improves the efficiency of the refrigerator. Being able to see the contents of the refrigerator clearly also prevents one from buying double of the same product.
A 10-Step Guide On How To Clean A Refrigerator
A big reason why we shy away from deep cleaning our fridge is that most of us are clueless about how to do it and also afraid that we might damage some components of the fridge. Here is a step by step guide which will help clear all those doubts on how to clean refrigerator.
1. Get Your Supplies Ready

A typical deep cleaning activity will require gloves, a cleaning cloth, liquid soap, a brush to clean the coils and tissue papers/rolls. A butter knife is recommended for dislodging solid food which is stuck to or between the shelves. Additionally, an important item you will require is baking soda. If you are always wondering how to remove bad odour from the fridge, then baking soda is the answer you are looking for. Cleaning with baking soda helps get rid of all odours.
2. Shut The Power Supply
This is the most important component of how to clean inside of the refrigerator safely. It is important that the power supply to the refrigerator is shut before you begin to use water to clean the refrigerator. For added safety, you could also unplug the cord to break the connection.
3. Empty The Fridge
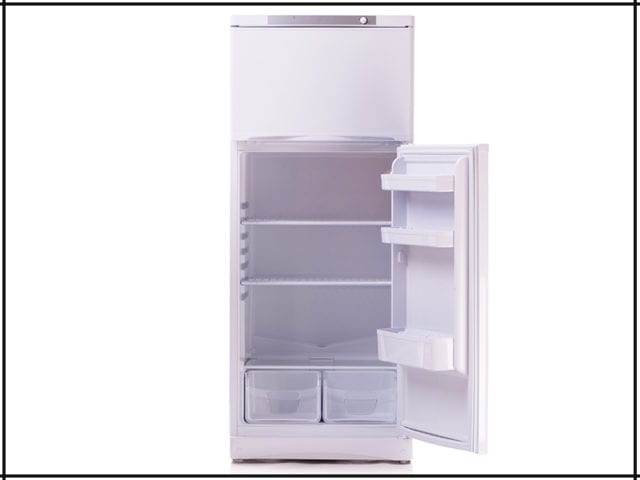
The next step is to remove all the items in the fridge. When learning how to clean fridge, the golden lesson is to always empty the fridge completely. Yes, everything including your jams and jellies, pastes and purees needs to be taken out. This not only helps in keeping a check on the expiry dates on products but also ensures effective cleaning of all the shelves. Check the expiry dates on all the sauces, dressings and condiments, tossing out the ones that are unsafe to use. You might also want to take stock of the fresh produce, dairy and meat in order to decide which ones need to be consumed first.
4. Remove The Shelves
For everyone wanting to know how to clean inside of the refrigerator, this is how it begins. All the removable shelves of the refrigerator must be removed and cleaned. These shelves can be easily washed in the sink. It is common to find dirt in the gap between the shelves. Deep cleaning provides an opportunity to get rid of it. In models that do not allow you to remove the shelves, make sure to clean these gaps by gently lifting the shelves.
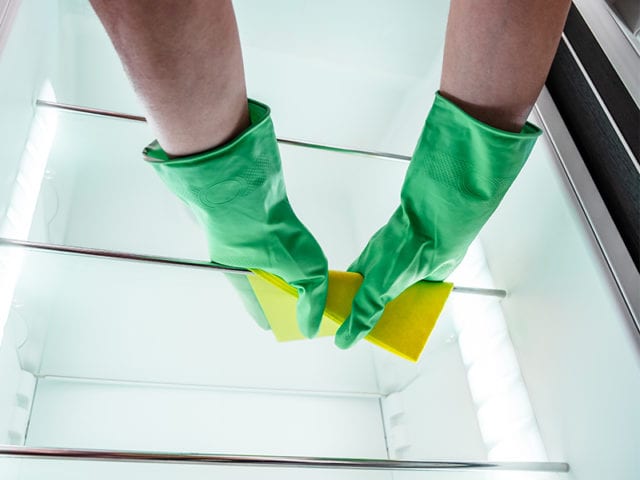
5. Let The Wiping Begin
Start with a soap/baking soda and water solution and begin wiping all the shelves, including the meat and cheese storage and the vegetable cabinet. A butter knife can be used to dislodge any food particles stuck between the shelves or get rid of sauce residue. When done wiping, don’t forget to dry the surface with a dry towel or paper.
6. Replace The Shelves
Once the removable shelves are clean, put them back in place. It is crucial to ensure that the shelves are dry before putting them back on. Also, be sure that the shelves are secure before you begin to place food items on them.
7. Arrange Your Food Items

Once the shelves have been placed, it is time to arrange the produce. Knowing how to arrange food is an important aspect of knowing how to clean refrigerator. By rule, the food items that are new should be placed behind the older purchases. Arranging the food by placing the foods for immediate consumption right at the front helps prevent wastage.
8. Move On To The Freezer
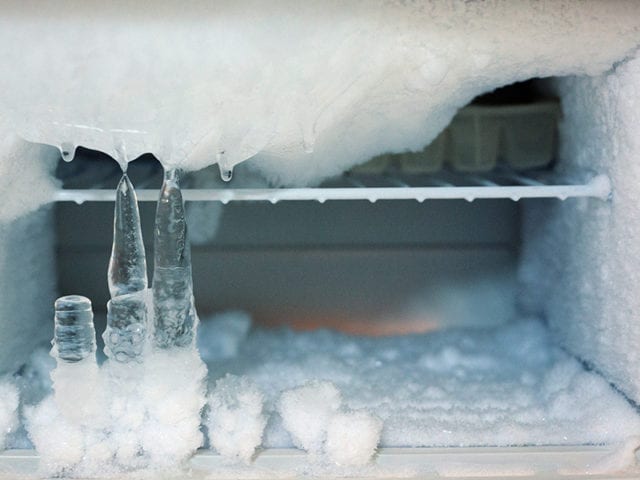
While understanding how to clean fridge, one aspect that is neglected almost always is the freezer. If the freezer section of the refrigerator is separate, it should be cleaned in the same manner as the rest of the fridge. Start with removing all the items and wiping the surfaces. Discard all the ice and inspect all the frozen items. Throw away any frozen food which looks inedible.
9. Clean The Coils & Kickplate
Most people don’t know how to clean refrigerator coils. Move the refrigerator so you have easy access to the back of the appliance where the coils are located. Use a dry brush to remove as much dust from the coils as possible. There are special coil brushes available in the market that can be used for this task. Depending on the model of the refrigerator, you can remove the base plate/kickplate and clean it before putting it back. If the kickplate cannot be removed, clean it gently using a dry cloth. You may also use this opportunity to clean the area behind the fridge.
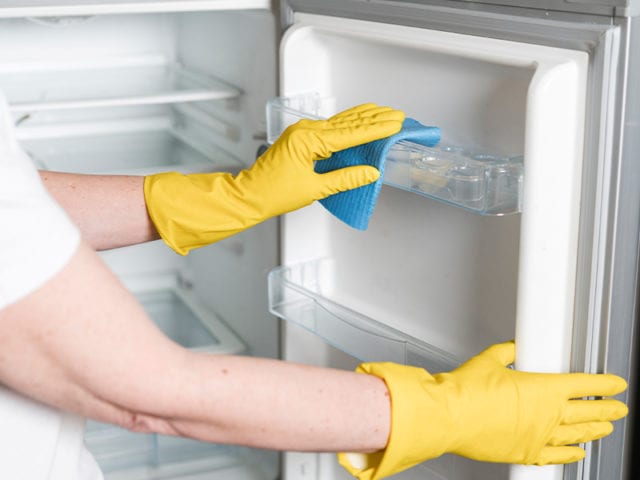
10. Clean The External Surface

When you put in so much effort into cleaning the inside of the fridge, it’s only fair that you leave it squeaky clean on the outside as well. Clean the outside of the fridge with a damp cloth. For stains, some gentle liquid soap can be used. This is the time to pay close attention to the door seals which almost never get cleaned. The small folds in the rubber make them a conducive place for dust to accumulate and mould to grow. Clean the folds with a scrubber to get rid of all the foreign matter.
Although it may sound like too much work, the importance of deep cleaning the fridge cannot be stressed enough. Your friendly appliance that makes sure you are well fed can turn into a breeding ground for diseases pretty quick if not kept in check. From better health to cost-effectiveness to an attractive looking kitchen, the benefits of refrigerator cleaning are too many to name.


