

Ever wondered if you could do this at home while your parlour didi pulls yet another wax strip off your skin? How hard could it be? Well, that’s what we’re about to tell you. We’ve got homemade wax recipes and some safety tips that will come mighty handy when you decide to take hair removal into your own hands.
There are plenty of products available online, but it’s easy to learn how to make wax at home. Waxing at home is a great way to save money and you can do it anytime, without the need for an appointment. From the basic and popular honey wax to the luxurious chocolate wax, you can make your favourite, right at home.

5 Homemade Wax Recipes For Hair Removal At Home
Waxing at home is great and you can make your own wax with these recipes. Here’s how:
1. Sugar Wax

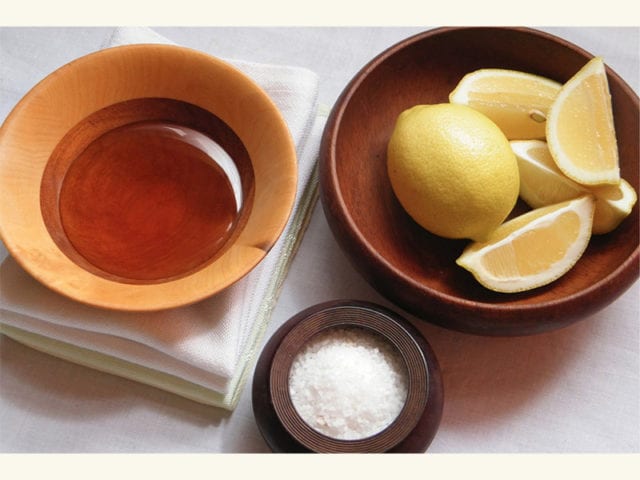
Sugar wax is the best choice and requires only a few ingredients. It’s natural and generally less painful than the other options. Let’s learn how to make sugar wax and enjoy waxing at home.
Ingredients:
- 2 cups of granulated sugar
- ¼ cup lemon juice
- 2 tablespoons water
- 1 teaspoon salt
Method:
- Mix all ingredients in a pot and melt over medium-high heat.
- Let the mixture boil and then stir the mixture to combine all the ingredients.
- Allow the mixture to continue cooking. Once it’s a caramelised colour like honey, it’s ready.
- Switch off the heat and transfer the sugar wax to a container and allow it to cool. Now you know how to make sugar wax at home!
2. Honey Wax
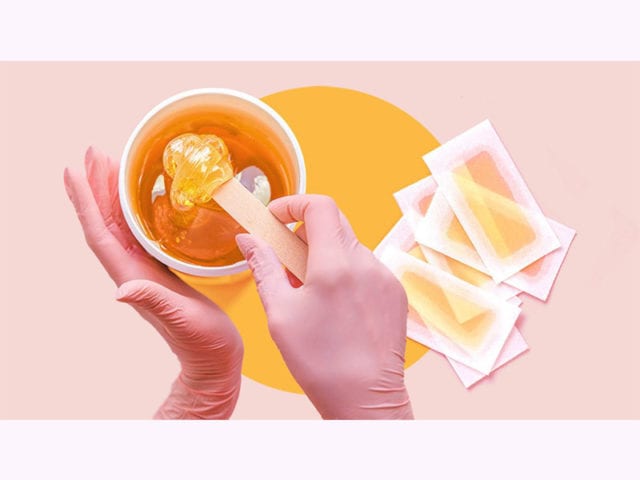
This is a great option for waxing at home. The classic honey wax has potential dermatological benefits. Honey has antimicrobial properties which makes it a perfect choice.
Ingredients:
- ¼ cup of honey
- 1 cup of white granulated sugar
- 1 tablespoon lemon juice
Method:
- Mix all the ingredients and put them in a microwavable safe container.
- Microwave for 30 seconds and then take it out.
- Stir well and then microwave for another 30 seconds.
- Take it out and let it cool down for 20 minutes.
3. Chocolate Wax

This recipe is indulgent and seems luxurious but is so easy to make. Cocoa is high in anti-inflammatory plant compounds and a chocolate wax just smells great.
Ingredients:
- 2 cups of granulated sugar
- 10-20 gms of cocoa powder
- ¼ cup lemon juice
- 2 tablespoons water
- 1 teaspoon salt
Method:
- Mix all ingredients in a pot and put it over medium-high heat.
- Let the mixture melt and boil.
- Stir the mixture to combine all the ingredients.
- Allow the mixture to continue cooking for a few minutes until the consistency is right.
- Switch off the heat and transfer it to a container and allow it to cool.
4. Fruit Wax
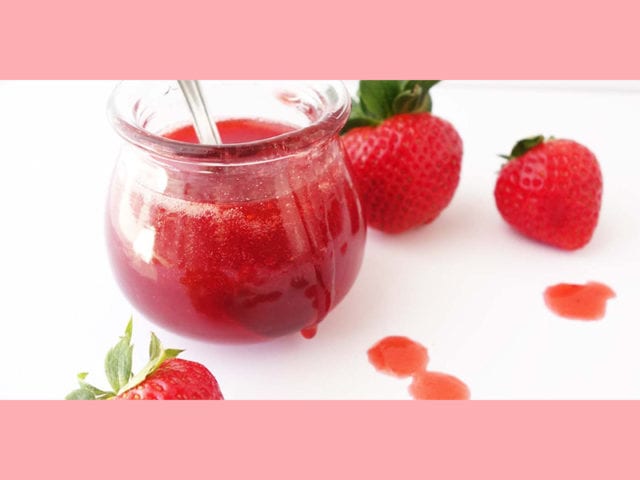
Fruits contain plenty of antioxidants, vitamins, and minerals. You can customise the wax by adding your favourite fruit to this ‘how to make wax’ at-home recipe.
Ingredients:
- 2 cups of granulated sugar
- 10-20 gms of pulpy fruit juice or powdered fruit
- ¼ cup lemon juice
- 2 tablespoons water
- 1 teaspoon salt
Method:
- Mix all ingredients in a pot and add your favourite fruit juice/powder.
- Put it on medium-high heat and let it melt.
- Once the mixture boils, stir it till all the ingredients are combined well.
- Cook this mixture until it reaches the desired consistency.
- Switch off the heat and transfer the sugar wax to a container and allow it to cool.
5. White Chocolate Wax
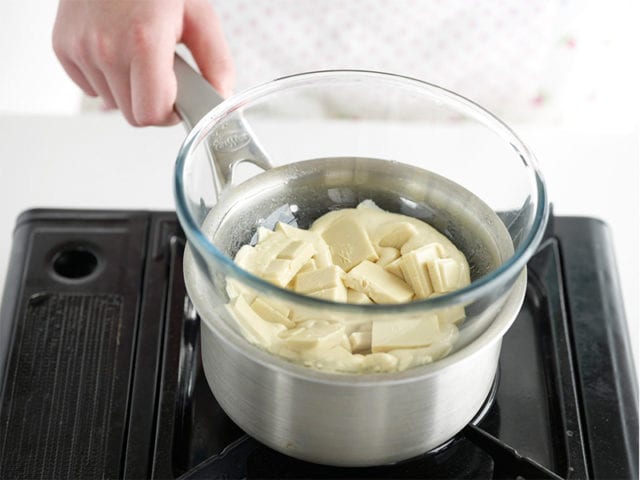
White chocolate wax is surely an indulgence you can try. It reduces and delays the premature ageing of your skin. White chocolate wax calms your skin, unlike normal wax. Hence it relaxes and expands skin pores so that the process of waxing becomes easier and less excruciating.
Ingredients:
- 1 cup of white chocolate chips
- 1 cup of glycerin
Method:
- Melt the white chocolate chips in the microwave in 30-second intervals.
- Do this till the chocolate completely melts.
- Now add the glycerin slowly and mix well.
- Let the wax cool down and store in an airtight container.
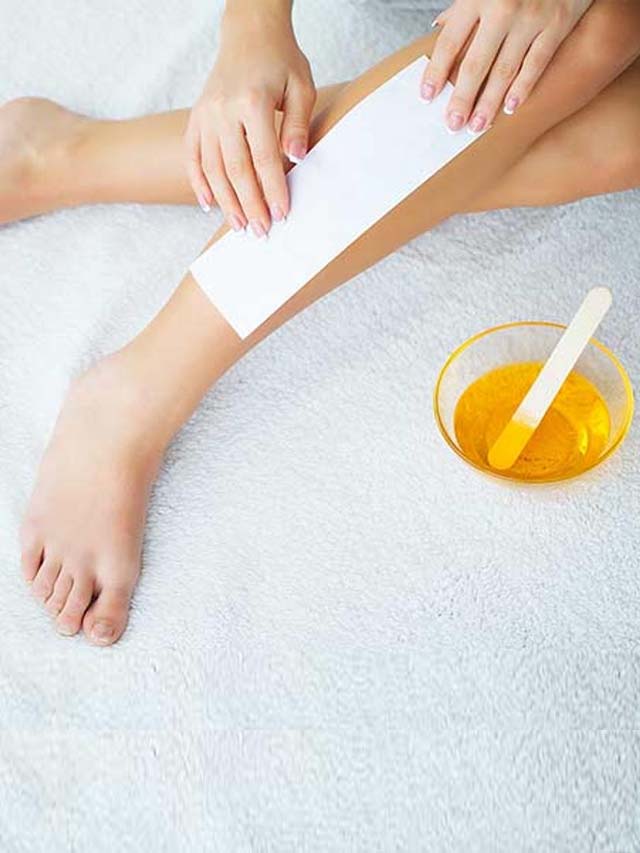
How To Do Waxing At Home?
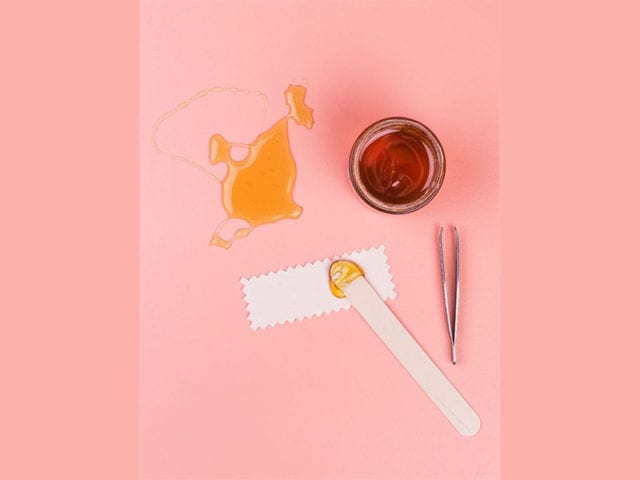
Now that you know different recipes, you can make your own wax at home. Hair removal with waxing requires strips that your parlour didi uses. If strips are not easily available, you can use cloth strips as well. Old cotton t-shirts work best for waxing. Some recipes don’t require any strips and are self-sufficient to get the job done.
6-Step Waxing Routine That You Must Follow
- Begin by cleansing the area of your skin you wish to wax.
- Use an exfoliator to get rid of dead skin cells, dirt, grime and oil.
- Apply some talcum powder to remove excess moisture.
- Apply the wax with a spatula or butter knife in the direction of the hair growth.
- If you are using strips, put them on the wax and press a little.
- Always pull the wax/strip in the direction opposite of the hair growth.
10 Safety Tips That You Must Follow Before & After Waxing
- Cook your wax properly to avoid a soft and sticky wax that’s not usable.
- If you cook the wax for too long, it will become hard like candy.
- Make sure you test the temperature of the wax before applying.
- Your hair should be roughly 1/2 inch or longer to achieve the best results.
- For upper lip waxing, you can apply the wax as far as the corners of the mouth.
- When waxing stray eyebrows, outline them and use a spoolie brush to separate the ones you wish to wax.
- Wax your arms and legs in separate sections to ensure thorough hair removal.
- When waxing the bikini area, be sure to keep the wax away from the vagina.
- Avoid chocolate or fruit wax in the bikini area as that can lead to irritation and infections.
- Apply a dab of oil post-waxing to get rid of excess wax and avoid inflammation.
FAQs – Frequently Asked Questions
Q. Is waxing at home safe?
A. Waxing at home is not only safe but also effective. Follow the safety tips to ensure you do not burn yourself and the rest is easy. For the best results, apply wax in the direction your hair grows and then remove it in the opposite direction of hair growth. And make sure you indulge in some post-waxing skincare.
Q. Is it better to shave or wax?
A. This is a matter of preference. Shaving cuts the hair right at the skin level while waxing pulls it out from the roots. While shaving is quicker than waxing, the hair too grows back faster than when waxed.
Q. What to apply after waxing?
A. Post-waxing care is vital. Use coconut oil to get rid of excess wax on the skin. To soothe the skin and avoid inflammation, use vitamin E oil. Avoid fragrant oils or products with added fragrance as that can irritate the skin.


